You know those days when you spend many hours baking some ridiculous dessert instead of preparing a healthy dinner? I just learned that there’s a hashtag on Instagram for this, “#Procrastibaking” which is what I did recently, in the most decadent and absurd way possible, when I asked ChatGPT to come up with a “coffee sandwich.”
First, the backstory. There’s a long gone bánh mì, Pho and filtered water shop called Lu Sub that used to sit between a pet food store and a laundromat on the Glendale Boulevard traffic sewer in Silver Lake. Their sign promised “Coffee-Sandwich Drinking Water.” A friend and I used to speculate about what a “coffee sandwich” would consist of every time we went past the place.
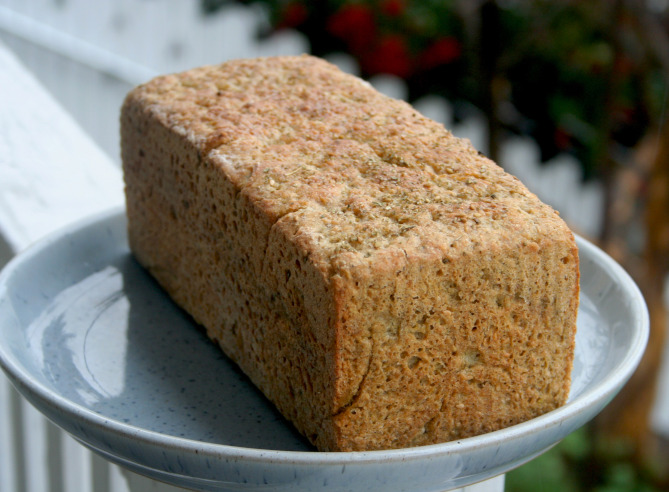
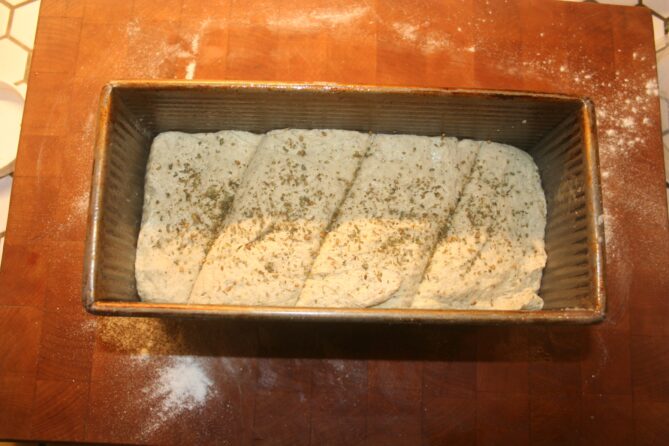
It took may years but I decided this month to bring some closure to this idle speculation. I based my prompt on the dessert sandwiches I ate on our recent trip to Japan. Typically, those sandwiches consist of a fruit and whipped cream filling served on fluffy Japanese milk bread called Hokkaido (北海道). I guess I could have invented a savory coffee sandwich (maybe pork with a coffee rub?), but instead I decided to go down the sweet path:


While I’d really love to tinker with this recipe and develop a thicker frosting I have to put aside the #Procrastibaking towards the goal of keeping off the fifteen pounds of pandemic pounds I lost recently. But I’d welcome any of you who want to take of the challenge of perfecting the coffee sandwich and taking it to market.
Special thanks to Sandwiches of History for the inspiration of using AI to create a recipe.
Here’s the Yelp for the now closed Lu Subs. While I’m not a fan of Yelp I find it useful as a kind of museum of long closed businesses.