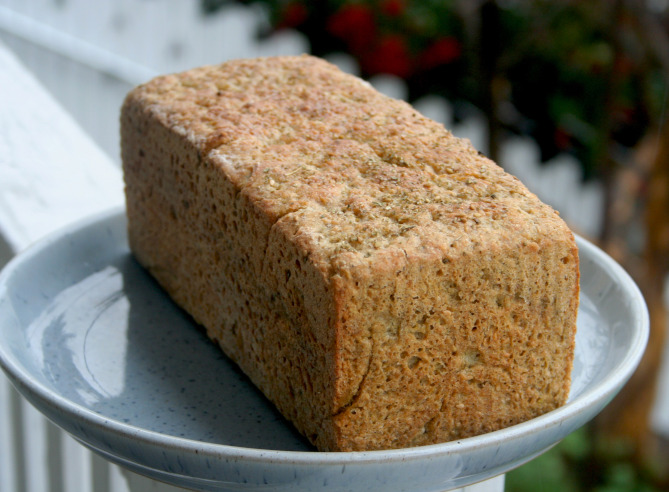
Loaf fail!
What could go wrong in a recipe with just four ingredients–flour, water, salt and yeast? When it comes to making bread, it turns out, a lot. In addition to the some recent, notable bread disasters, such as the one above, I felt that I had also fallen into a lazy rut, baking loaves that were edible but uninspiring.

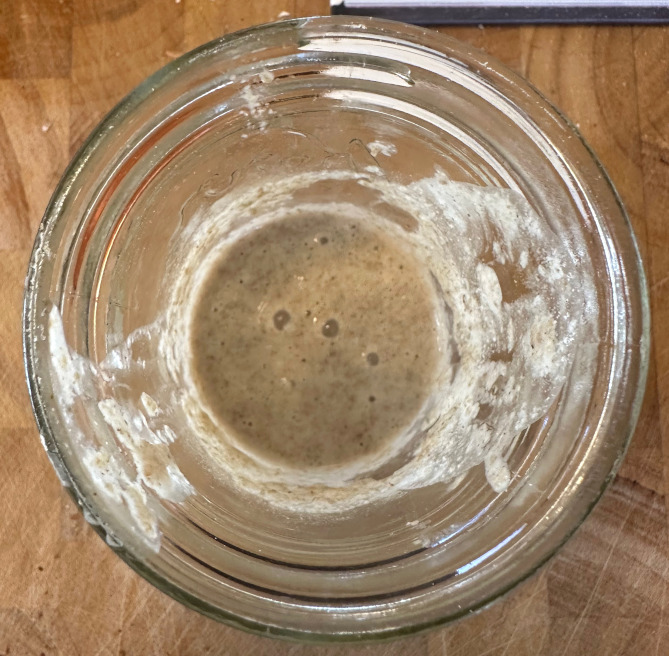
The book is divided into four parts: recipes that use commercial yeast, recipes that use a sourdough starter (or levain), pizza and a section on doughs that combine sourdough starter and commercial yeast. I’ve never tried this heretical combination and I decided to give a go.

I was blown away by the results. You get the same sourdough tang and long shelf life (due to the preservative effects of the acidic culture) combined with a more open crumb structure due to the extra power of the commercial yeast. It also idiot-proofs the proofing since just a small amount of added commercial yeast (a 1/4 teaspoon in Forkish’s recipes) gives you a greater chance of success, even on the cold day.
I really like Forkish’s clear instructions in this book, especially his suggested baking schedules which involve feeding the starter in the morning, mixing the dough in the late afternoon, shaping the loaves in the early evening and proofing the dough in the refrigerator overnight. This schedule is more likely to fit into a normal day, though it can, of course, be modified.
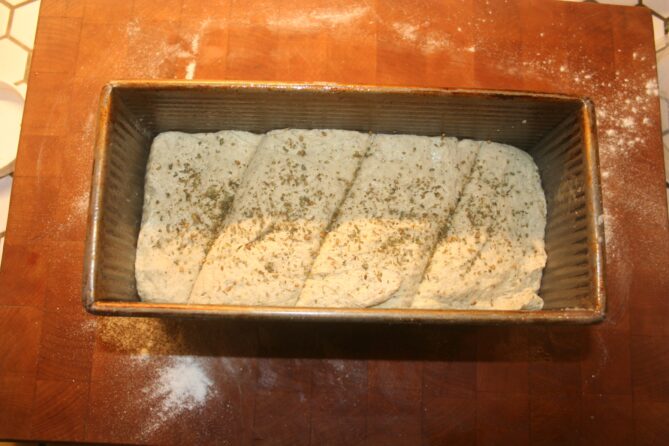
The book owes a debt to Chad Roberston’s methods including baking the loaves in cast iron pots. Unlike Robertson, though, Forkish’s recipes are easier to follow and intended for a home baker. In addition to the heretical commercial yeast/levain dialectic, Forkish also skips the slashing step allowing the loaves to, in effect, slash themselves in the baking process.
Now all I want to do is bake bread instead of make dinner.