I don’t now why it took me so many years to realize that our kitchen temperature is too low for proofing bread. Most of the year here, except for the hotter months, our interior temps are in the 70sF (20sC). Bread wants to ferment in the 80sF (upper 20sC). Professional bakers either have a hot kitchen or proofing boxes to maintain this higher temperature.
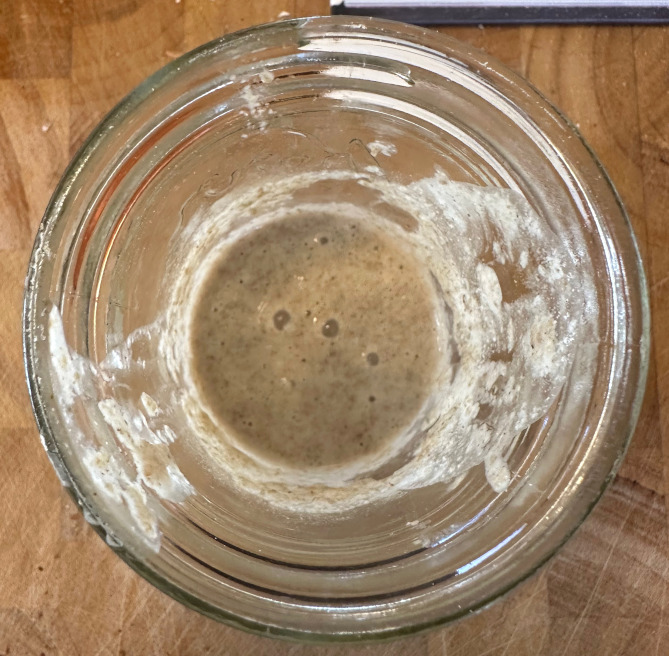
If you’ve got a microwave you’ve got a proofing box. Just heat a mason jar filled with water for a few minutes and stick your dough in for both the bulk fermentation and proofing. If you don’t have a microwave you could heat some water on a stove and put it and your dough in a cooler. If you want to get really fancy you could use a seed propagation heating mat in a cooler. I don’t have a mat so I’ve been using the microwave and it works great.
There are reasons you might want to cool dough and prolong fermentation, either to develop flavor and/or to put off your baking time to a more convenient hour. Your proofing box and refrigerator thus become, to use an old person metaphor, like the fast forward and pause buttons on a VCR.
Concluding note
I’ve gotten back into bread baking after a pause, specifically making whole wheat breads. If you’d like to try baking yourself, at the risk of sounding like a broken record, I highly recommend the Josey Baker Bread book. Why? It’s to the point, beginner friendly, has a lot of whole grain recipes, and is the book most likely to help you develop a regular bread baking habit.