
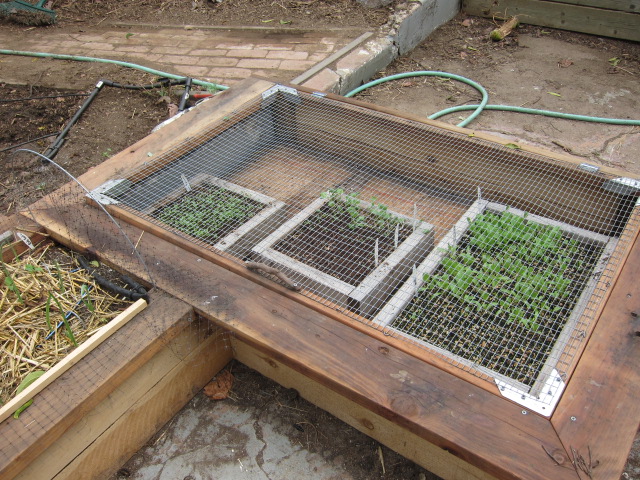
Remember a while back I posted a picture of Erik in a manly pose, whomping our patio with his sledgehammer? He took out a strip of concrete and built this over the hole: a new planting bed. That’s the Germinator on the right, butting up to it and my Fan behind it. When we’re done with all this redoing, we’ll clean everything up and take some wider shots so it all begins to make sense. For now–believe me–it’s better to keep to limited views!
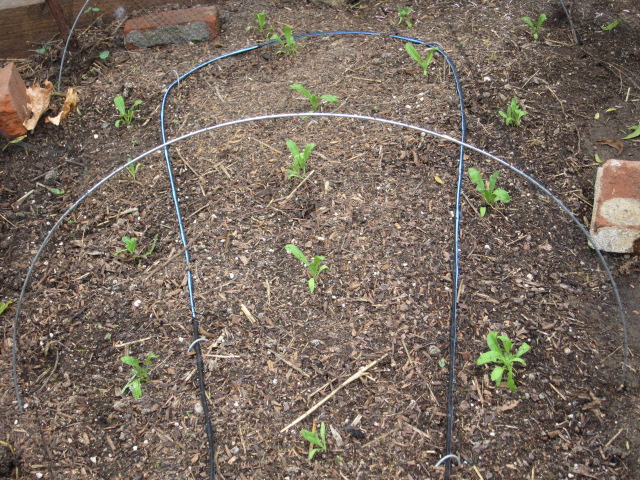
Right now, as its name suggests, this new bed is planted with garlic–and a few shallots. Rather as I had with medicinal herbs, for years I’ve been tucking garlic in here and there all over the garden. And while that’s a fine strategy, especially if you believe in its use as a companion plant, it’s a real treat to be able to plant a ton of garlic all at once.
But this isn’t a dedicated garlic bed. Remember, in gardening, you have to keep your crops circulating. Repeated plantings of the same veggie in the same place is just begging for trouble. After the garlic harvest, we’ll add the bed to the rotational schedule. Perhaps next it will hold Swiss chard, or carrots. When you’re trying to rotate crops in a small yard, every new bed helps. Even small ones. This is one reason we squeezed this one out of our patio.
Note that like The Fan, The Trough is also covered with hoops and netting to keep skunks and squirrels (and chickens) out until the plants get established.
Grow Your Own!
If you haven’t grown garlic, it’s super easy. Just break up a head of garlic and plant the individual cloves pointy end up under an inch or so of soil, about six inches apart. You’ll want to use only big fat cloves, not those skinny ones that sit in toward the core.
You can use regular old organic garlic that you’d buy at the store or the farmers’ market. Some warn against this, saying the heads might be treated with anti-sprouting agents, but I’ve never had a problem. Diseases of different sorts may also be a problem, now that I think about it. And I don’t like to think about it, because I love shoving random garlic from my kitchen into the ground. It’s just plain fun. But if you plan ahead, you can order safe, untreated garlic from seed companies, and even better, you can choose from a wide variety of heirloom and gourmet varieties suited to you individual climate.
Too late for us this year, a friend gave us an enthusiastic recommendation: a variety called Music. Check it out. Perhaps we’ll plant this one next year.
Here in LA, we plant garlic in the fall, between Halloween and Thanksgiving for a spring harvest. You’ll have to check local wisdom to find out when you should plant yours, but we’ve heard that in cold winter climates you also plant garlic around this time–the only difference being that the bulbs overwinter under the snow and sprout in the spring. Ours are already sprouting, sped up, I think, by our insane hot/cold weather cycles this fall.
One last tip: garlic likes mulch. In the bed above, you’ll see the straw mulch covering most of it. The shallots are on the far, bare end. We’ve never grown them before, but apparently they don’t like mulch. Everybody has to be a diva.
Should you really want to become a garlic expert, there’s a book on the subject: Growing Great Garlic: The Definitive Guide for Organic Gardeners and Small Farmers.


