101 Eric Interviews Erik

ericerik

Between Kelly’s aortic dissection and my mom’s passing it’s been a difficult few months here at Root Simple. Eric Rochow of Garden Fork noticed that I haven’t put out a podcast episode in a long time and offered to interview me. So, on episode 101, you’ll hear Eric interviewing Erik about Root Simple, our books and my background. Despite the differences in the way we spell our names we have a lot in common! During the podcast we talk about:
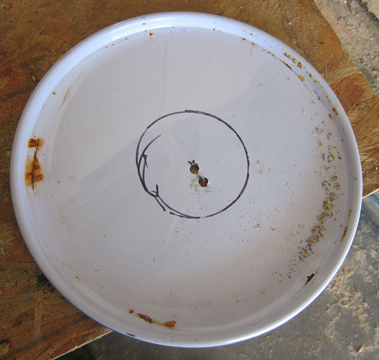
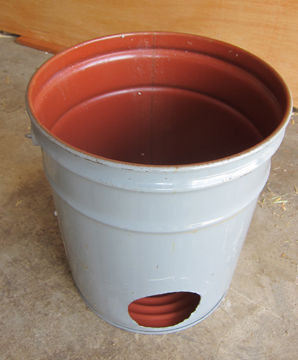
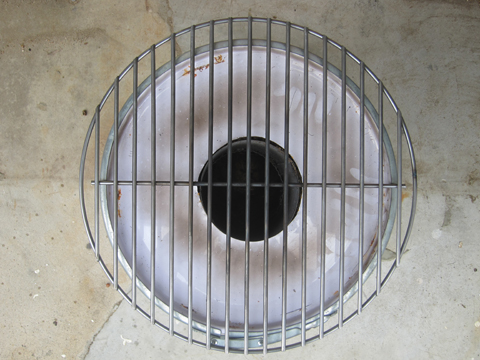
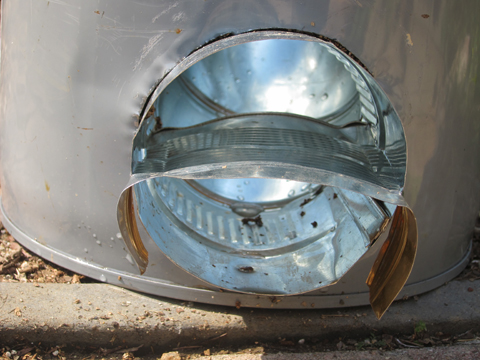
If you’d like to leave a question for the Root Simple Podcast please call (213) 537-2591 or send an email to [email protected]. You can subscribe to our podcast in the iTunes store and on Stitcher. The theme music is by Dr. Frankenstein. A downloadable version of this podcast is here.

Save

How to Make a Simple Paint Can Rocket Stove

IMG_6988

Update: Root Simple reader Ruben questions whether it is possible to build a true rocket stove out of metal. Ruben sent me to a Facebook post by Benjamin Rosen who says, speaking of another metal rocket stove, “Actually, you can say that this is not a rocket stove. A rocket stove gives great heat from a small amount of fuel because it burns very efficiently at high temperatures. This is achieved by having a ceramic lining in the combustion chamber that permits very high temperatures because it insulates the combustion chamber, and because it absorbs and returns the heat to the chamber by glowing white hot. A metal lining, as we see in this design, will shed heat to the environment and therefore cannot reach the high temperatures needed for a true rocket stove. Metal, in any case, would melt at the temperatures achieved in a true rocket stove combustion chamber.

Rocket stoves cook food with small pieces of wood efficiently and with much less smoke than conventional wood burning stoves. They also help prevent deforestation since you can burn small twigs trimmed off a tree rather than burning logs. Search the interwebs and you’ll find may different designs. But they are all based on burning wood in an “L” shaped tube to create a chimney effect. Insulating the tube increases efficiency.

A friend who lives in a remote part of Southeast Asia is visiting us this month and we wanted to come up with a design for a rocket stove that could be made from commonly available materials with nothing more than hand tools. Our goal was done rather than perfect. Here’s how we did it:

Continue reading…

Is it safe to use cinder blocks or red bricks in stoves and ovens?

As how-to book and blog authors we face many questions that begin, “Is it safe to . . . ?” And, for some reason, any post of ours involving rocket stoves sets off a firestorm of incoming Google hits.

An old blog post on a “Redneck Rocket Stove” made out of cinder blocks prompted many to suggest that the cinder blocks would explode due to heat. Leon, of the blog Survival Common Sense, does a good job of refuting this notion in a blog post, “Build a brick rocket stove: Is it safe to use concrete blocks?” The short answer is that those concrete blocks are not going to explode. But if you want something permanent you should use fire bricks and fire clay as mortar so it won’t crack.

7289920442_0497827a71
Related to this issue is our use of regular bricks in the hearth of our adobe oven. Most sources suggest using fire bricks or kiln bricks. Kurt Gardella, the adobe master who led the workshop where we built our adobe oven, is a fan of recycling materials and saving money. We happened to have a pile of ordinary red bricks and he said it would be fine to use them for the oven floor. He was right. We have fired the oven many times and none of the floor bricks have cracked. If I had not had the red bricks on hand and I was at the brick yard buying materials for an oven, I probably would have bought fire bricks. But having just paid for sand and straw gives me cheapskate bragging rights.

Opinions? Have you faced this issue?

A Rocket Stove Made From a Five Gallon Metal Bucket

The principle behind a rocket stove is simple–rather than cooking on an open fire, you burn wood in an insulated chimney. Rocket stoves are highly efficient and easy to make. They run on twigs, so you can avoid cutting down a whole tree just to cook dinner.

We’ve had a rocket stove made out of brick in our backyard for several years. The post we wrote on it in 2007 is–oddly–the most frequently searched post on this site. I figured that since there was so much interest in the topic it would be good to offer one that didn’t require masonry work. Better yet, I figured that it should be portable, so I made it out of a five gallon steel paint bucket. (eta: for your googling pleasure, it seems retailers call these cans “steel pails” rather than buckets). The project took less than an hour to complete and I’m very pleased with the final result. We created a pdf with full instructions that you can download at the Internet Archive. What follows are some photos showing the building process:

Using a piece of 4″ vent pipe and a 90º elbow, I made the chimney. See the pdf for the exact dimensions.

I traced the outline of the vent pipe on to the lid of the bucket and cut this hole out with a jig saw. Tin snips would also have worked.

Using the vent pipe as a guide again, I cut out a 4″ hole near the bottom of the bucket.

I used one part clay (harvested from the yard) to six parts vermiculite as my insulation material. Mixed with water, the clay holds the vermiculite together. I could also have used dry wood ash, but I had the vermiculite and clay on hand so that’s what I went with.

With the vent pipe in place, I packed the insulation into the bucket and let it dry for a few days before putting the lid on.

I found a barbecue grill at Home Depot that rests on the top of the bucket to support a pot.

Next you want to get yourself a tin can, take off both ends and open it up with tin snips. Cut a piece to serve as a shelf in the mouth of the pipe. It should be about 4″ long–so it sits forward in the mouth of the vent. The rear part of the vent, where the fire burns, is open. The twigs rest on top of the shelf, the lower half is for drawing air.

The last step was to add the new Root Simple stencil to the back.

Some fire tips from the little lady, our resident pyro:

A rocket stove isn’t like a campfire–you don’t throw on a big log and kick back. Cooking on it is intense and concentrated, best suited for boiling or frying. The best fuel source is twigs, small ones–I prefer pencil-sized twigs, and I never try to burn anything thicker than a finger.

To start a fire just shove some paper or other tinder under the shelf toward the back of vent. Lay some very thin twigs, pine needles or other combustibles on the shelf. Light the paper and watch it go. Start adding larger twigs to establish the fire. Of course, twigs burn fast and hot, so you have to keep adding more fuel. Also, the twig are burning from the back (the fire is concentrated in the bend) so as the fire consumes the sticks, you just keep shoving the unburned parts to the rear.

There’s a balance between choking the vent with too much wood and having too sparse a fire. After a few minutes of playing with it you’ll get the hang of things. If you’re doing it right, there should be no smoke, or almost none. These things burn clean.

Let us know if you like the pdf and if you would like to see more similar instruction sheets (maybe in an ebook format) of these types of projects. There’s also a good book on using rocket stoves as heaters:  Rocket Mass Heaters: Superefficient Woodstoves YOU Can Build by Ianto Evans and Leslie Jackson.

  • Page 1 of 2
  • 1
  • 2
  • >