What’s in Worm Leachate?

worms

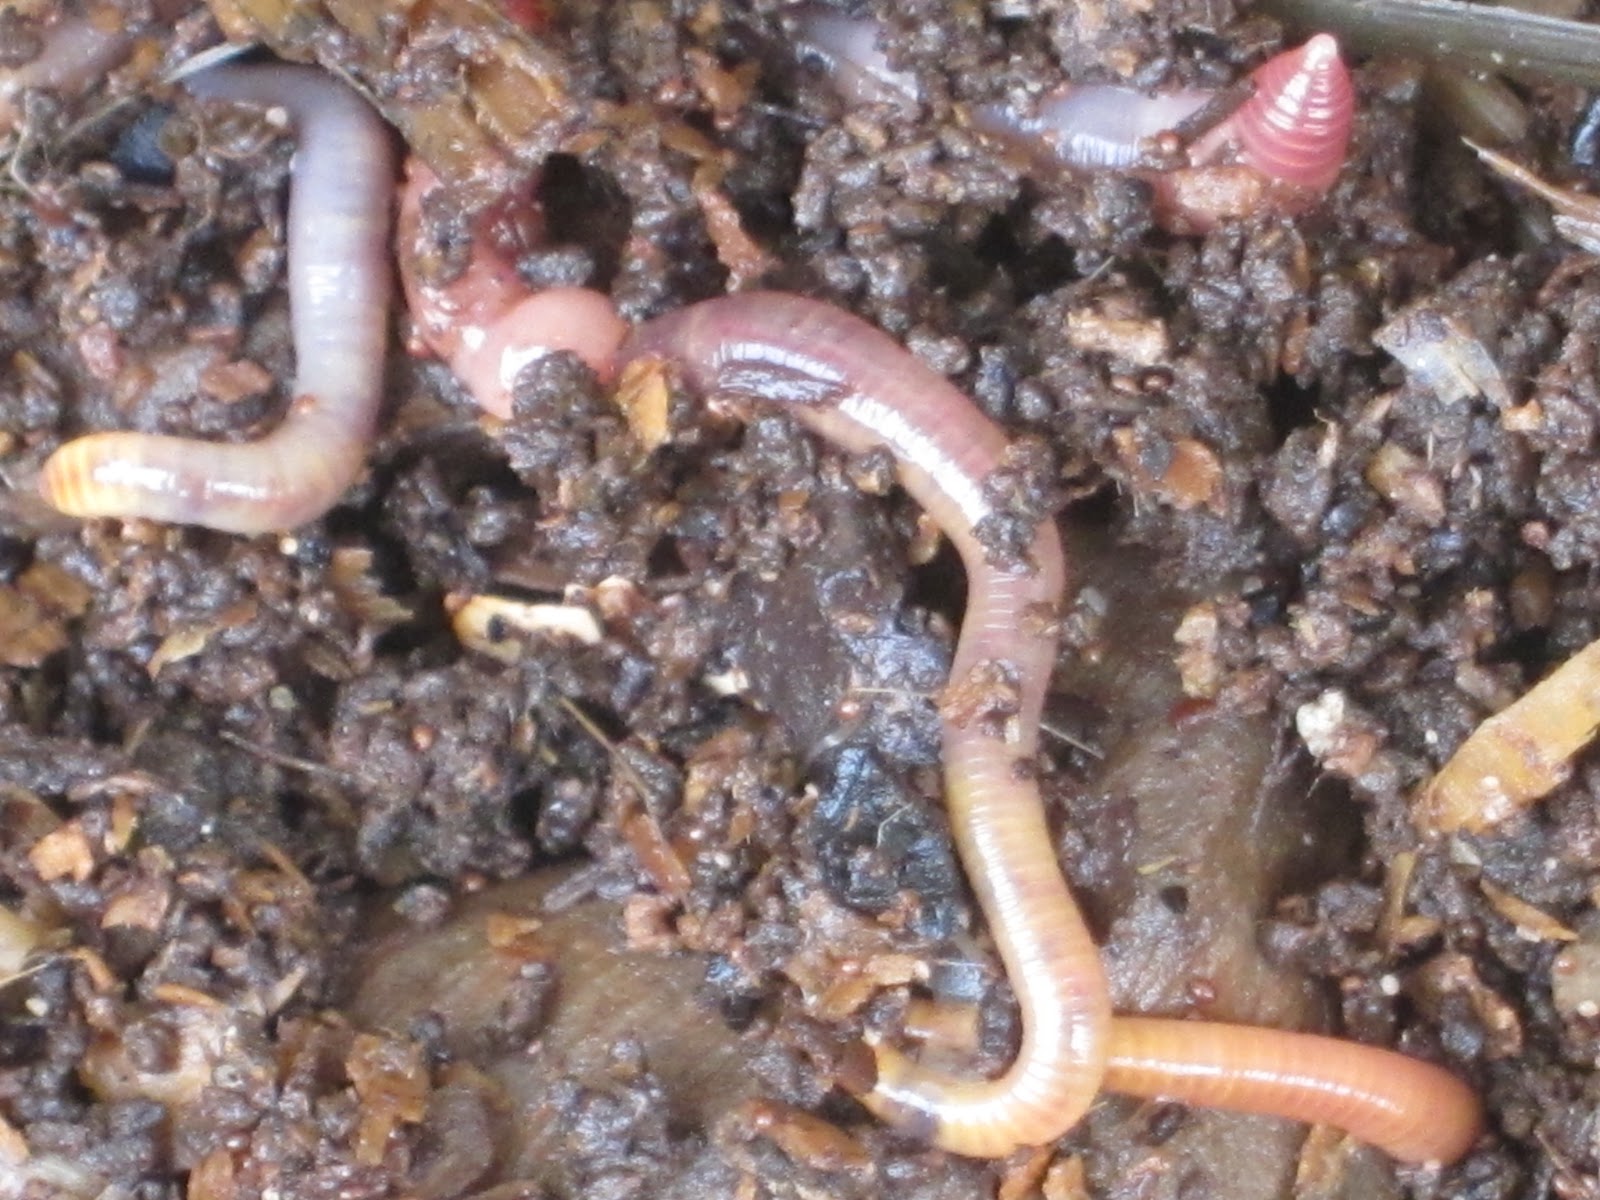
Garden Professor Jeff Gillman analyzed worm leachate (the liquids the flow our of your worm bin) from a home vemicompost setup. It’s pretty strong stuff! Gillman concludes,

this could be a great liquid fertilizer if it were used properly.  I’d recommend diluting it somewhere between 1:1 and 1:5 worm juice : water before applying it, and I’d only apply it once every week or two.  If you want to use it, try it on something that you’re not too concerned about first, just to make sure that it doesn’t do anything too terrible (It shouldn’t, but I believe in caution).

To see a full analysis, read his post here.

The Fine Art of Worm Grunting


For your Monday viewing pleasure we have two videos showing worm grunting in Florida.

Worm grunting is a technique used to lure worms out of the soil to collect as fishing bait. Basically, you take a stick (called a “stob”), pound it into the ground and rub a metal rod (known as a “rooping iron”) against the top of the stob. The deep vibrations are said to mimic the sound of burrowing moles, the natural predator of worms. When they sense the vibrations, the panicked worms crawl to the surface of the soil. (The high population of earthworms in the area profiled, upwards of 1 million per acre, makes grunting a sustainable practice.)

In England, grunting is called “worm charming”. And yes, there are competitions–in Sopchoppy, Florida, Shelburne, Ontario, and South Devon, England.

Kelly adds: Attn: geeks! After viewing, shall we discuss whether Dune author Frank Herbert knew about grunting…er…thumping? Were the Shai-Hulud fleeing even more terrifying SandVoles?

My Big Fat Worm Bin

These worms are fat and happy

Some of you may remember that Earth Goddess Nancy Klehm taught a vermicomposting class at our house in October. Some of you reading this may have even attended!

That day, Nancy and the class foraged and gathered materials to fill a bin and worked together to chop, moisten and prep the materials. The materials included our own kitchen scraps, farmers market trimmings, cardboard and newspaper gathered from neighborhood recycling bins, chunks of our infamous prickly pear cactus, a “nitrogen contribution” from one of the more intrepid class members, some well aged humanure compost and some of the aged cat compost from our kitty litter compost barrel. (More on that later.) We didn’t have our final worm bin built at that time, so the materials were layered like a lasagne in a 50 gallon drum. When introduced the worms from our sad little kitchen bin into this pile of goodness, the worms thought they had landed in nirvana.

Since then, Erik has built a giant wooden bin for us following Nancy’s plans. It’s a simple thing, very like a toy chest. Nancy’s plans called for it to be 4 feet long, but Erik built the chest 5 feet long because he was working with 10 foot boards (less waste that way, you see). The result is a long pine box that looks disturbingly like a coffin! But that’s okay. Really, what better than a pine box full of worms staring us in the face to remind us all that we have to seize the day? 

Why do we have a coffin on our back porch, you ask?
The inside view, proving it is not a coffin. We’re going to decorate this somehow–which might help, or it might just look like we have a decorated coffin on our back porch. Right now the process is stalled because we are bickering over which pretentious Latin motto to paint on the side.

I transferred all the contents into the coffin box. What was interesting about Nancy’s mix is that it is much more like an active compost pile than the traditional newspaper shreds + scraps that make up a typical worm bin. The materials had heated up while sitting. Heat isn’t good for worms–they like to occupy cool compost piles–but I figured in a box of that size they could find cool pockets and edges to hang out in until it cooled off.  And that’s exactly what they did. There weren’t so many of them to begin with, and they were happy to hang out on the top layer until the rest cooled.

Since then, a wormy miracle has taken place. First, given the space and resources, they’ve started breeding like crazy. That’s to be expected. More interestingly, they’ve grown. The worms are getting super big and fat. I figure they’re like goldfish, adapting to fit their space. I think they really like the diversity of materials they’re living with, both in terms of habitat and nutrients.

The surface of the bin as of today. You’ll see it looks a lot like a compost pile, as opposed to a bunch of newspaper.

For my part, I love, love, love having a huge worm bin because it can easily absorb all of our kitchen waste. I can take my entire one gallon scrap pail, dig a hole in the bin, and dump it all in. When we had the small worm bin–which was made of a plastic storage bin–I could only add a cup or two of scraps at a time. This made the bin more of a hobby than a convenience. What’s extra cool is that those huge scrap loads vanish really fast in the new bin, whereas scraps tended to linger in the small bin.

Here’s a morbid question for you all: Whenever I add new scraps and see the old ones broken down so quickly, I recall something about an old cemetery in France, I believe, which was known for breaking down bodies extra fast, due to the composition of the soil. Mr. Google isn’t helping me recover this lost information, but I believe the cemetery was nicknamed “the man eater” or the “bone eater” or something like that. Does anyone with similarly Gothic tendencies happen to know what I’m talking about?

On outdoor worms:

Outdoor worm bins do have to be protected from worm predators–lots of critters like to eat worms, even dogs–either by weighing down the lid or latching it somehow. For now, we’re just keeping a big chunk of broken concrete on top. (Uhh…do I hear banjo music?)

Extreme temperature fluctuations are a problem outdoors. Worms like the temperatures we humans prefer, essentially. If it’s broiling out and they can’t find cool ground, they’ll die. When their bin freezes, they’ll die. Freezing is not an issue for us, but Nancy, being from Chicago, is an authority on cold. She says what happens with outdoor bins there is that when the deep freeze comes, the adult worms will die off, but the eggs will overwinter, and the bin will rebuild itself in the spring. Obviously, if you want your worm bin to function year-round in a cold climate it will have to be kept in a basement or a mudroom or somewhere where the temperatures are a little more moderate.

On the flip side, the mass of a big bin helps insulate the worms from the heat. They can dive deep, or hang out on the shady side of the bin. But it helps quite a bit if you can give the worms some shade during the summer, either by moving the bin under a tree or setting up some kind of screen to block the worst of the sun. 

Managing the waste stream:

Diverting all kitchen waste to the worm bin works well with our waste stream because of late, Erik has preferred to build his compost piles all at once–usually when we clear out our garden when the seasons change. The piecemeal additions of food scraps interferes with the timing of his compost harvest. See, if you build a pile all at once, you get finished compost much more quickly than if you add material a bit at a time. This is not to say that “bit at a time” piles are bad, they’re just slower. Now we have the best of both worlds.

Regarding the cat poop compost:

This should probably be a whole other post. But the short version is that I’ve been composting our cat litter in its own separate pile. This works pretty well, but with two indoor cats (aka pooping machines) the bin fills up fast. When we built the worm bin, Nancy had us harvest some of the older, more finished kitty litter compost from the bottom of the cat pile to mix into the worm pile as a base material, and I will continue to do this whenever our cat bin overfloweth. The ability to transfer some of the mature material to the worm bin will function as sort of a pressure release valve on our cat pile, allowing the whole system to work better.

Is this safe? I’m not going to say it is. I’m not going to recommend that any of you do this. When it comes to composting pet or human poo, we believe good composting technique, worms and time make all things well. But obviously if this is done badly, it could be quite dangerous. If you’re interested in extreme composting, as always, I recommend you visit Joe Jenkins’ site–he’s the author of The Humaure Handbook.

So from Erik, me and the worms: A huge and hearty thank you to Nancy and to all the class attendees who helped us make this wonderful bin!

4 Vermicomposting Tips

Ecological landscape designer Darren Butler has been teaching a series of classes at the Root Simple compound this month (I think there may be a few open slots in his Intermediate Organic Gardening class if you’re interested. Click here for details). Darren dropped a few vermicomposting tips during the beginning class that we thought we’d share:

1) Worms don’t like empty space in their bin. They dislike voids. They appreciate it very much if you bury their entire working area under a very thick layer of light dry carbon material, like shredded newspaper or chopped straw. Yes, it’s standard practice to put a layer of cover material over the scraps–but the difference here is that Darren recommends that the cover layer should fill all the empty space in the bin, from the worm level to the lid.

To be clear, you never want the bin’s working material (worms, scraps, etc.) to get super deep. That’s just asking for problems, because the deeper that material, the more likely the bottom is going to turn nasty and anaerobic. What we’re talking about here is filling the empty air space with dry matter–sort of like an insulation layer.

2) Harvesting worm castings (separating the worms from the castings) is always a bit of a challenge. Well, not challenging as in hard, but challenging as in requiring patience. Our method has been to mound the castings into a pyramid outside on a sunny day. The worms instinctively work their way down to the base of the pyramid to avoid the light. Once they do, we take off the top and sides of the pyramid and transfer that to a bucket. That material will be mostly worm free. Then we reform the pyramid and do it all over again.

This method is fine, but Darren’s method is a little faster. It works on the same principle–the photosensitivity of worms–but instead of making pyramids he lays out softball sized mounds of castings. The worms will cluster at the bottom of the balls, allowing you to harvest off the tops and sides. This works faster than our pyramid method because the worms don’t have as far to move. You can harvest faster, and get it done all at once instead of forming and reforming the pyramid.

Of course when you’re doing either method you should remember the worms are very vulnerable when they’re out of their bin like this, vulnerable to heat and sun–you don’t want to forget about them!–and also to predators like chickens, birds and even dogs.

3) Some of you have worm bins with spigots for collecting “worm tea” aka leachate. Did you know it goes bad within 24 hours of production? If you use it, use it right away. Never use undiluted leachate on plants–it can harm them. To use it on plants, dilute it with 4 parts water, put it in a spray bottle, and spray on foliage. They’ll uptake the nutrients through their leaves. Alternatively, you can use it as a soil drench (for watering) when diluted with 16 parts water. In its straight form it can be used as an insecticide.

4) Darren’s favorite way of using worm castings is new to us and quite interesting. Castings are fertilizer, but more than that. They can help bring life to your soil. He takes golf ball sized plugs of fresh castings and buries them here and there in his garden beds (or pots). Used this way, they are little beneficial microbe arks that will help invigorate the life of your soil. A little bit goes a long way. You are, in effect, inoculating your soil with microbial life.

New to worm composting, or just vermi-curious? The classic book on the subject is Worms Eat My Garbage: How to Set Up and Maintain a Worm Composting System by Mary Appelhof.
.

Vermicomposting Class

If you live in or around LA, we encourage you to take this unique class that we’re hosting in the Silver Lake area. While it’s pretty easy to get basic information on starting a worm bin, it’s rare to be able to dig deeper, especially with a teacher as knowledgeable as Nancy Klehm.

GET YOUR LOOP ON!
A workshop on extreme vermicomposting for the city dweller.
October 23, 2011
9am – 1pm
  • $45 includes foraged snacks and tea
  • $25 deposit required to hold your space
  • Only 15 spaces available
  • Deadline for registration: Oct 20th
  • Click on the “buy now” button bellow to register
  • Email Nancy for more information:[email protected]
This class is suitable for both beginning vermicomposters and experienced ones with interest in integrating their worm bin with their larger household systems.


As cities struggle with basic recycling programs, and citizens learn how to grow tomatoes for the first time on their decks in soil from stripped from farmland and purchased at a store, there are some who are curious about having a more intimate connection to their waste and unveiling its worth.

In this workshop we will go “beyond the bin” and build a large, outdoor vermicomposting system designed to handle both kitchen and yard waste. The basics of worm farming will be covered, but emphasis will be placed on integrating the worm bin into the wider ecosystem of yard and house, such as:

* How to combine vermicomposting and thermacomposting in stepped systems
* How to integrate vermicomposting with a dry toilet or pet waste composting system
* How to best use your castings in the garden
* Tips for the apartment dweller
* What to do with all those extra worms…

And more!

Nancy Klehm is a long-time urban forager and grower, ecological system designer, artist and intrepid soil builder. She spent over five years designing and running a closed-loop vermicomposting project in Chicago that used 100’s of thousands of worms to digest 10’s of thousands of pounds of food and paper waste to create healthy soil. She started The Ground Rules, a community soil building center in North Philadelphia and developed and ran a two year collective human waste recovery project Humble Pile Chicago. She is the on-going bio-instigator of soil systems at C.L.U.I.’s South Base in Wendover, UT.

www.spontaneousvegetation.net
www.socialecologies.net