For years I’ve used a special wooden basket called a banneton to proof my round loaves of bread in. I’m teaching a bread baking class this weekend and needed a bunch of proofing baskets for the class. Bannetons are nice but expensive so I decided to try using a canvas lined proofing basket as a more economical alternative.

I got some metal bowls from my local 99¢ store. Wicker baskets or a plastic colander would also have worked, but the 8 inch metal bowls were the perfect size for the kind of bread I make. The canvas came from an art supply store, but a fabric store might also work. I’ve tried to use dish towels in the past, but I’ve found that canvas works better. Just make sure to flour the CRAP out of the canvas and never wash it, or your loaf will stick.
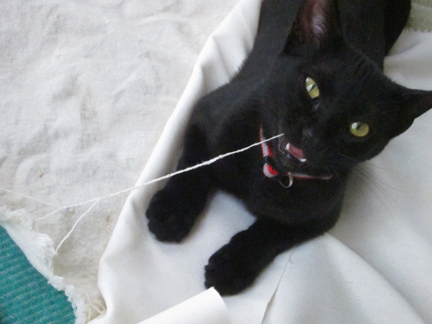
I sized the canvas so that I can fold it over the whole bowl to keep the dough from getting oxidized. New kitten “helped” with the fabric cutting.
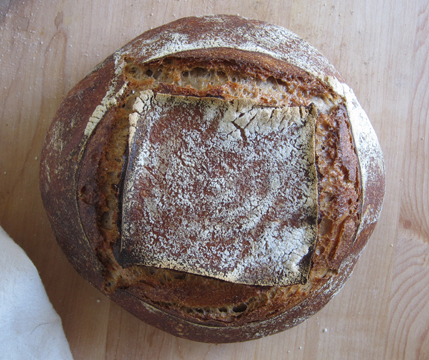
When you’re ready to bake you just invert the bowl and dump the loaf out of the basket. I like the look of bread proofed in a canvas lined basket.
Stay tuned for my levain-based bread recipe in an upcoming issue of Urban Farm Magazine.