
We talk about non-toxic housecleaning in almost every lecture we do, and we cover it in both books, but I can’t remember if we’ve talked about cleaning the bathroom on this blog. We did cover how to clean kitchen sink fairly recently, but I’m not sure what else we’ve done. Of course, I know my regular Root Simple readers are so hardcore they could give me tips in this area, but I thought it would be good to cover non-toxic cleaning for new readers and folks crawling the interwebs for information.
It’s a really, really important topic. There’s no simpler way to remove toxins from your immediate environment than switching out your cleaning supplies. We call this “low hanging fruit.” There’s lots of things in this world that you may not like, but which you can’t control. Housecleaning, however, is totally within your power to change. Cleaning this way also saves you money and cabinet space, reduces plastic waste and not least of all, protects our waters from chemical contamination.
Just say no to chemical warfare in your home.
It all starts with the Holy Trinity of Non Toxic Household Cleaning:
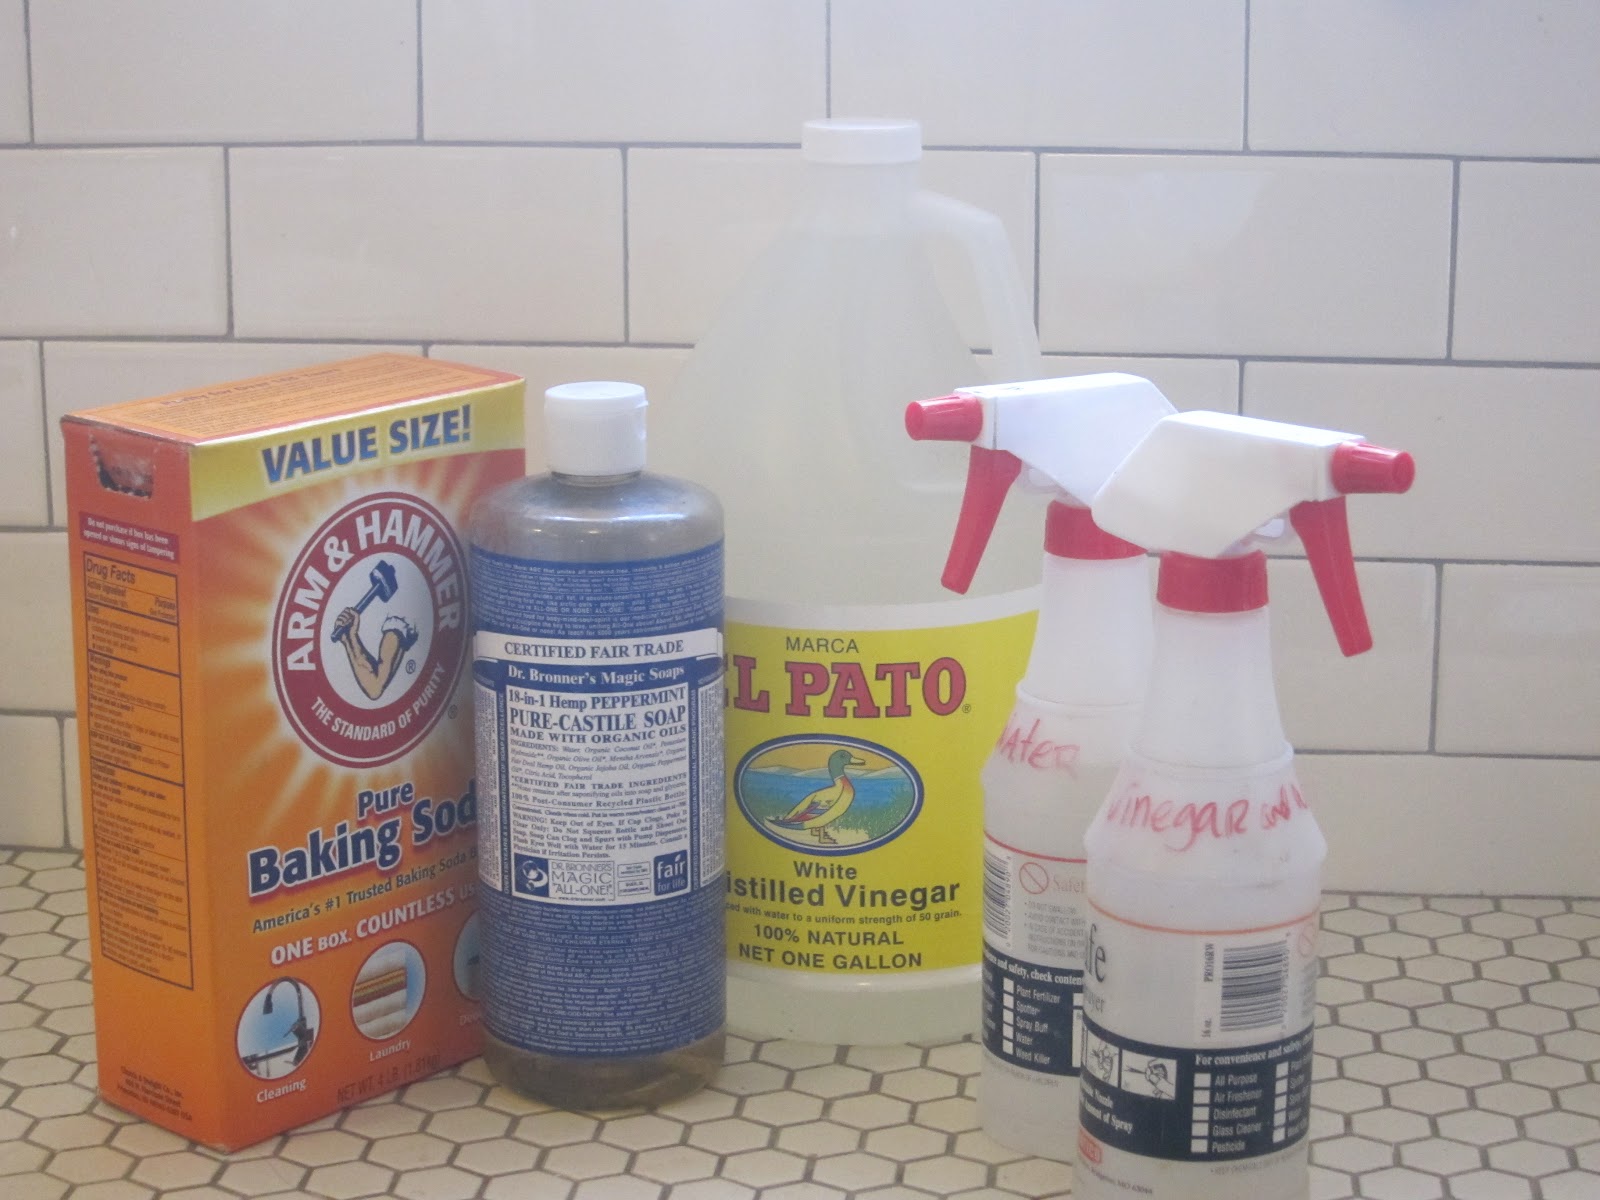
- White vinegar*
- Baking soda (sodium carbonate)
- Liquid castile soap, such as Dr. Bronner’s
Get yourself these things, some empty spray bottles and rags, and you’re in business. You don’t need anything else.
Prep:
Fill one spray bottle halfway full of white vinegar. Fill it the rest of the way with water. This is your all purpose wipe down spray, aka the 50/50 spray
Take another empty spray bottle and pour about a tablespoon of liquid soap into the bottom. Fill it up with water. This is called “soapy water.”
Yep. This is why we make the big bucks.
That’s it. You’ll find other recipes which are more involved. Some people like to put a squirt of soap in their vinegar water. Sure, why not? Other people make rather elaborate concoctions of a little of this and a little of that. I’ve found that simple is best, because 1) I can’t be bothered to do more and 2) I’m not sure any more elaboration is necessary.
Cleaning ain’t rocket science, and it’s not like I’m prepping my bathroom for surgery. Stuff just needs to be wiped down to remove dust and other surface dirt. Whatever I clean, however I clean it, will get dirty the next time it’s used, so why all the struggle and germ phobia?
 |
| All cheap white vinegar is the same, but I like El Pato brand because of the duck on the label. Why doesn’t El Pato make t-shirts? |
The vinegar spray is great because it doesn’t leave any residue behind (which soap does), shines up things fairly well, disinfects to some extent because it is an acid, and deodorizes as well. Yes, it smells like vinegar, but you get used to that. You begin to associate that smell with the idea of clean. The scent goes away when it dries, and it takes any lingering odors with it.
The bathroom sink
 |
| Work the right side, the left side is yet to be done. See the hard water deposits forming around the base of the faucet? That’s on its way out. |
The bathroom sink doesn’t get nearly as dirty as the kitchen sink, at least not in our house. See my post on the kitchen sink* if you have a really grotty sink that needs bleaching. In the bathroom, all I do is spray down the sink with the vinegar/water spray. Generously. Regular use of it will help prevent hard water deposits from forming around the faucets. Spray and wipe. I find using a clean, dry rag gives the best polish to the sink.
If you already have hard water deposits around your faucets or elsewhere, apply full strength vinegar to that area. If it runs off (depends on how your sink is shaped) try soaking rags or paper towels with vinegar and lay those over the deposits. Let the vinegar work its magic for a half hour or so and come back. You should be able to scrub off the deposits now. If you still have trouble, trying applying the vinegar hot.
To clean scummy build-up out of the sink, follow your vinegar wipe-down with a generous sprinkle of baking soda. Scrub with a damp cloth or a nylon sponge. Rinse.
Bathtub/Shower
 |
| The advancing line of clean |
Here I prefer to use soapy water spray instead of the vinegar spray, though you could try the vinegar. I find that soapy water cuts through soap-scum build up quite well, perhaps because like dissolves like?
To clean our clawfoot tub, what I always do first is spray the whole interior with soapy water, then sprinkle over that a generous coating of baking soda, focusing on the spots that look grungy. I scrub these areas first, using an old nylon net bath puff, which is my favorite tub cleaning tool. A nylon sponge or a rag would work fine, too, though. The secret here is to use not so much soapy water–just enough to wet the surface, not enough to puddle. The baking soda should be just damp when you’re scrubbing with it. If it’s too wet, it’s not effective.
After I scrub the scummy parts, I wipe down the whole tub and rinse.
Note: I have no proof, but I do believe that big brand soaps (and their knockoffs) make more soap scum than natural soaps, and that scum is harder to remove than what’s left behind by natural soaps. They are definitely not good for your skin. When you switch your cleaning products over, switch over your bar soap to a nice, natural soap. Maybe something from the farmers’ market, or maybe even something you make yourself. Or yes, the ubiquitous Dr. Bronner’s is fine, too.
Toilet
 |
| Plunging the bowl to reduce water level. Cat heads are not recommended for plunging, as they are not bristly enough. |
First thing I do is start scrubbing the bowl with the toilet brush, just using the bowl water. It’s amazing how much plain water and a scrub brush can do. I plunge as I scrub, with the goal of lowering the level of the water in the bowl down to a minimum. If you can’t make this happen by scrubbing & plunging, then pour a bucket of water in the bowl–that will lower the water level, too.
That first scrub takes care of a lot of the basic build up. Next, soak the bottom of the bowl in straight vinegar to remove stains and the-lord-knows-what that collects down there. Take that big cheap gallon jug of vinegar and refill the bowl to the usual water line with a couple of cups of vinegar. I like to pour the vinegar all around the sides of bowl to give those surfaces a good antiseptic dousing. Then let the vinegar sit at the bottom of the bowl for about a half hour. When you come back, give a final swish and flush.
While the vinegar is doing its work in the bowl, spray the entire toilet from top to bottom–back, lid, seat, base– with the 50/50 vinegar water, and then wipe it down with a rag. This is plenty sufficient to clean those parts, and if you have a seat/lid that shows water spots (like ours, because it’s black) just be sure to wipe those parts dry and you’ll have no spots.
If you have rust stains under the rim, pure vinegar (how did you guess I’d say that?) will help. Soak paper towels or rags in vinegar and plaster them under the rim and leave them as long as you can. When you come back, you should be able to scrub those stains away. Lemon juice would also work well.
 |
| Vinegar soaked rags under the rim, working on the rust stains. Apologies for the terrible picture! |
Mirror
Because I’m way too lazy to make up a different formula or even pick up a different spray bottle, I use the 50/50 vinegar spray on the bathroom mirror. Spray on, buff off with a dry cloth. Works fine. Same goes for our mystery metal Ikea garbage can.
(Amendment as per Donna’s comment below: I should say that you can clean your mirrors with water alone. Donna also recommends newspaper for polishing, which is a fine technique. All in all, you just need to get windows or mirrors slightly wet, then polish them with whatever you have on hand that is clean and dry. I use the vinegar spray because it is a handy moisture delivery device.)
Floor
Again, all you need is vinegar–about a half cup in a bucket of hot water, or more like a full cup for a big bucket or a dirtier job. Mop. No rinsing required. I use this on tile, linoleum, vinyl flooring and even, with a barely damp mop, wood floors.
If I’m in an expansive mood I’ll add a few drops of essential oil to the bucket so I can Sniff n’ Mop.
* Warning Regarding Vinegar: Vinegar is apparently not recommended for use on stone surfaces–like granite counter tops or stone composite floors. I don’t have any personal experience with these surfaces, but I’ve read that this is so. Vinegar is a mild acid (5%), and acid can etch stone. It’s hard to imagine vinegar etching stone, especially when diluted, but it’s best to be cautious. The effects might build up over time. As always, ask the manufacturer of the stone surface, if you can.
Also, if you leave full strength vinegar on a finished metal surface for long enough, you might end up dulling it. I’ve never had a problem wiping down my fixtures and appliances with 50/50 blend, but once I soaked a sink head in a bag of hot vinegar overnight. My goal was to remove mineral deposits in the faucet. It worked, but it also dulled the head of the faucet. You can always rinse your faucets off after cleaning with vinegar, just to be sure. Rinse with water and then dry with a cloth and you’ll have no spots. Until someone uses the sink.
* I just realized that I posted that “how to clean your sink” post exactly one year ago to the day. Something about Feb. 13th makes me think about cleaning, apparently. Must be my romantic nature.
 |
| Phoebe, the implacable bathroom supervisor, says “Scrub, you lazy swab! Damn your eyes!” |


